The popular Clippy helper is back on Windows, but this time it’s not Microsoft that’s responsible for the revival. Instead, Microsoft is working on Windows Copilot, which is also currently available for testing. A developer who goes by the Twitter handle FireCube has revived Clippy. They have created a Clippy that runs smoothly on Windows 11 and is powered by ChatGPT. You can speak with Clippy on your Windows 11 desktop using your OpenAI API credentials. In order to obtain Clippy with AI on Windows 11, refer to the tutorial provided below.
Step 1: Get OpenAI API Key for Clippy AI
- To get smart replies from Clippy AI, you need an API key from OpenAI. To get the API key, open this link and sign into your OpenAI account. You can create one for free if you don’t have an account.
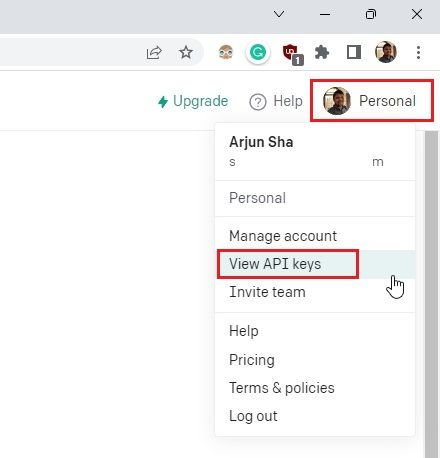
- Once logged in, click on your profile in the top-right corner and select “View API keys” here.
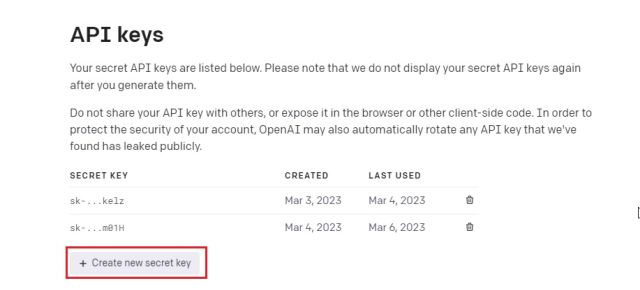
- Next, click the “Create new secret key” button.
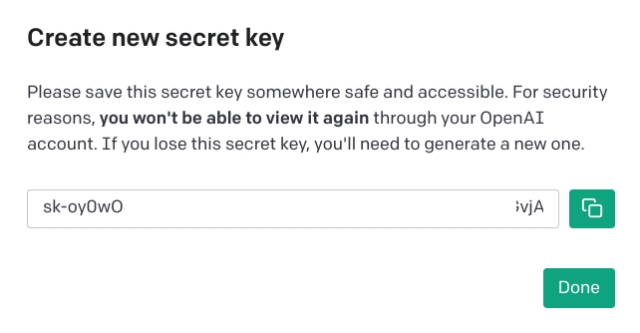
- Now, copy the API key, and you are almost done. Keep in mind, you can’t view or copy the same API key again. So it’s recommended to paste the API key into a Notepad file for later use.
Step 2: Install AI Clippy on Windows 11
1. Open Microsoft Store on your Windows 11 PC, search for Clippy by FireCube (Free) and install it.

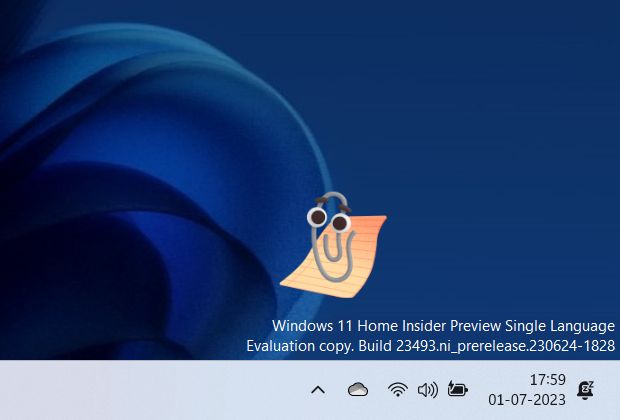
- After that, launch the app on your Windows 11 PC and Clippy will appear in the bottom-right corner of the screen.
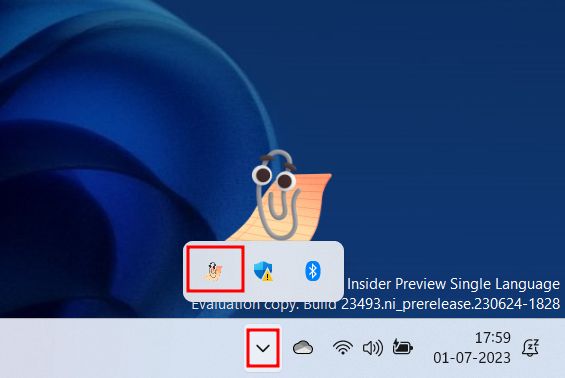
3. Now, open the System Tray and right-click on Clippy to open its settings page.
- Here, under the “OpenAI API” menu, paste the API key you copied above and click the Save button. Now, close the window, and you are ready to start using Clippy AI.

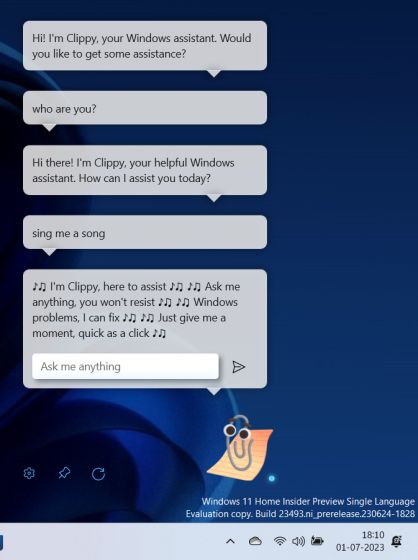
- Now, click on Clippy to start using it by questions in the text box that appears. If it still shows an error, click the “Reload” button.

- And there you have it! You can chat with Clippy and get all your answers from ChatGPT right on your Windows 11 desktop. You can also press “Windows + Shift + C” to quickly activate Clippy.
Ref And Image Credit: beebom
