It has long been customary to modify a Bethesda game, and Starfield is no exception. Although being new compared to its forerunners, modders have already obtained the game (before the official release) and are gradually beginning to make mods to enhance the in-game features. Learn how to set up your copy of Starfield for modding as Bethesda has promised complete support for mods. So that you can easily download and play them when the truly good mods begin to arrive.
Remember to Back Up Game Files Before Modding
First, make sure you have the most recent version of the game installed. The original game files will then be backed up so that, in the event that something goes wrong, Starfield may be restored to its original state. Having stated that, here’s what you should do:
- To check the game version, right-click on Starfield in Steam and go to Properties.
- Then, select “Updates” to check the game version. As of writing, Starfield’s build ID in early access is 12051365.
- Next, go back to Steam and right-click on Starfield again.
- Now, select Manage and choose the “Browse local files” option.
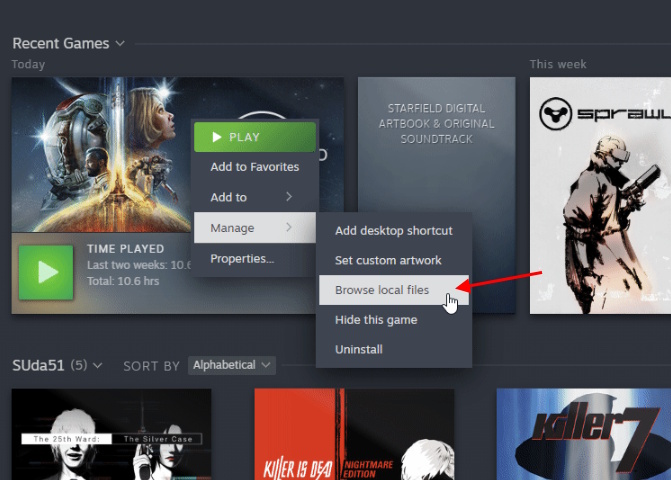
In File Explorer, select everything and copy the files to a separate location.
Finally, be sure to create a unique save file without the mods. Unfortunately, you cannot rename the saved files in Starfield. Hence, to prevent losing your progress, keep track of the date you last saved the game.
How to Install Starfield Mods Using Vortex
We now need to install the Vortex Mod manager after finishing the backup procedure. The best Starfield mods may be installed using this mod manager, which is run by Nexus Mods (check out the list via the linked article). Mods are still being created, but Vortex is still required to install them. This is how it goes:
- Head over to the Nexus Mod website and download Vortex. It is a one-stop solution to modify your game files, as the software detects the game installed on the system. Ensure that you make yourself a Nexus Mod account before proceeding with the installation.

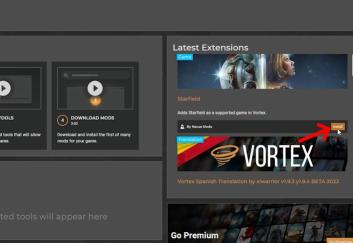
2. Install Vortex on your PC and launch it. When you boot in for the first time, you will see a Starfield modding tool pop up on the right side.
3. Select Starfield and install the extension. The mod manager will ask you to log in to your Nexus Mod account, so ensure you’re logged in.
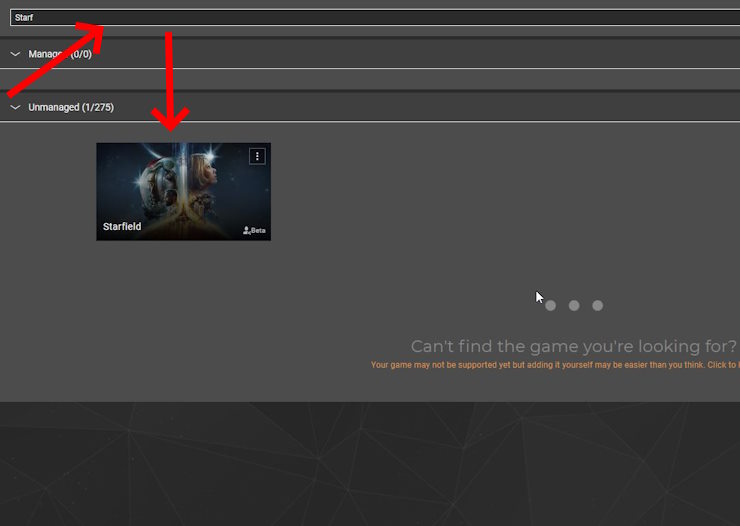
4. Then, go to “Games -> Select a game to manage” and search for Starfield. Select it to allow you to install the mods.
- Next, head back to the Nexus Mods website and open any Starfield mod.
- When you install any mods directly from Nexus Mods, the browser will prompt you to open the Vortex mod manager. Click on “Open Link” and install the mods accordingly. Please ensure that you follow the instructions mentioned on the mod page.
If you follow the steps on the mod page properly, you will have modded Starfield successfully and can play with the new features, shaders, or other changes you applied to the game.
How to Mod Starfield Using an INI Script
Many mods use “ini” files that are created in the My Games folder of Starfield to modify the game as of the time of writing this article. The methods listed below should be followed if you want to accomplish so yourself and manually alter things like Starfield’s FOV:
- First, open File Explorer and go to My Documents.
- Then, search for the “My Games” folder and open it.
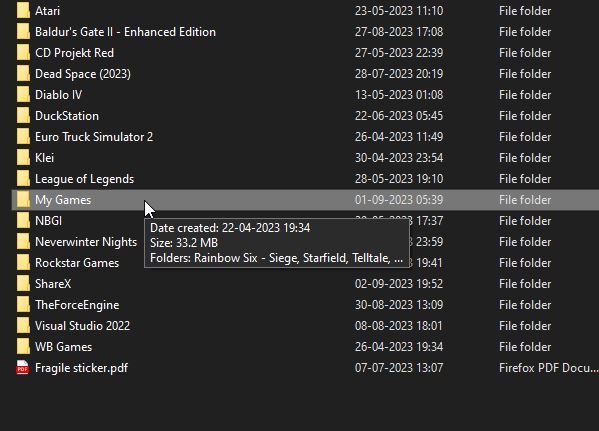
Under this folder, you will find the Starfield folder. Open it.
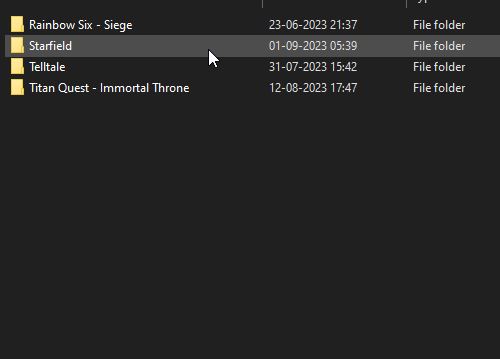
Then, click “View” on the top of the screen and enable the “File name extensions” option.

- Now, right-click inside this folder and make a new text file.
- Name this file “StarfieldCustom” and don’t forget to add “.ini” at the end to the change the extension.
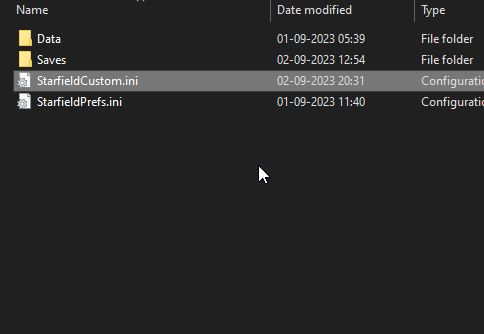
From here onward, whenever you install a mod, the mod author should have some ini script written on the mod page in the instructions. Copy those scripts, open your StarfieldCustom file, and paste them inside. Make sure you save it. This should mod your Starfiled file and give you a new gaming experience, different from vanilla.
Read more: How to Get the Almagest Jackpot Combination in Starfield Game
